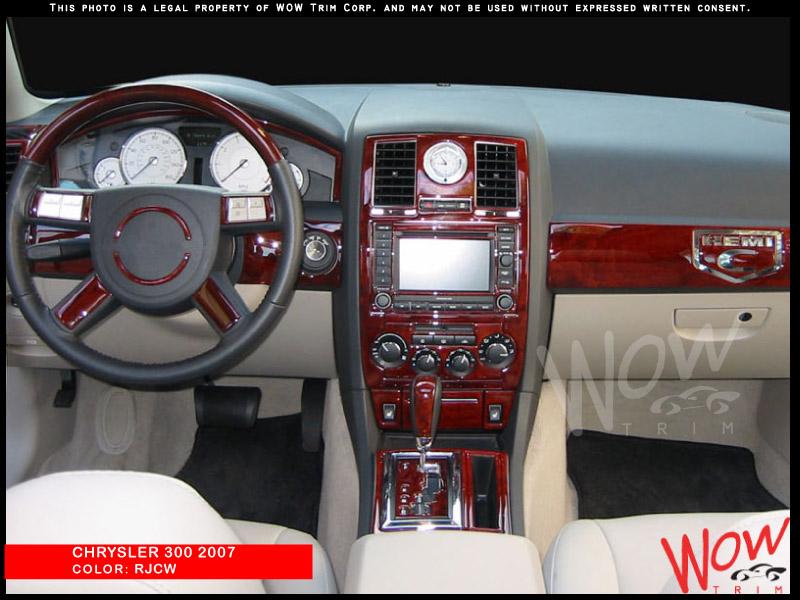
Usually you will find that all the dash
kits today come with a detailed DIY installation guide. Following is the
guide that will help you install our dash kits be it a flat (2D) or molded (3D) dash kit element.
How to prepare for installing a dash kit?
- First of all make sure that the interior temperature of your vehicle is at least 72°F.
- Next, read the instructions thoroughly that come with the specific dash kit in order to determine any sort of special instructions for your dash kit components.
- Begin with installing smaller pieces first to get familiar with the installation process.
What are the steps to install dash kits?

Step #1: Dash Kit Test Fitting
Test fitting the dash kit without removing the backing and exposing the adhesive is a must. Place each piece of the dash kit over the area where it needs to be applied to ensure that each piece fits correctly in its place. In case you find any piece does not match or appears to be damaged then get in touch with us and we can assist you. For 2D flat dash kits installation test fitting helps you in locating the areas that will be covered with adhesives afterwards. During test fitting you need to ensure that all buttons and vents move and work freely without touching the dash kits elements.
Step #2: Preparation and Surface Cleaning
Now once you are done with the test fitting process, clean the dash areas thoroughly where the dash kit pieces will be applied. This step helps in ensuring that the surface area is free of any dirt or lint. For cleaning the dash areas you should use Is propyl Alcohol. Usually the silicone based vinyl treatment products such as Armor all leave a silicone residue that reduces the kit adhesion to a great extent. This MUST be cleaned off completely. You need to note that if your vehicle has gone through vinyl treatments then it needs to be cleaned thoroughly.
Step #3: Dash Kit Installation
Using
the Adhesion Promoter pen that was included with your kit, run a bead
of promoter on the dash surface under where the edges of each piece will
set down. Let dry for about 2 minutes. Peel off the corner of the Red
Liner on the adhesive and remove. Once you completely remove the red
backing, make sure to lightly press each piece into place. Don’t worry
if you make a mistake and the piece is not positioned correctly. You can
remove it and try again. Once placed correctly make sure to inspect all
dash areas for adhesion and press down firmly where required. For
avoiding center buckling while installation of larger dash kit pieces
apply pressure from left to right. Never force any piece that is not
wanting to apply properly. When the piece resists bending, use a heat
source like a hair dryer to soften the piece and make the installation
easier. Once you place all the dash kit pieces correctly give each one a
final firm press down with the fingers.
Step #4: Give Finishing Touch
Your
new dash kit can be cleaned by using soapy water or if there is some
adhesive on the surface, you can use some WD40 on a rag to clean off the
residue. This will not hurt the finish.
Conclusion:
Being
sure to install your new dash kit following the instructions supplied
with the kit, assures a successful and pleasing installation. Dash Kit Specialties offers the best quality dash kits along with proper and thorough instructions. For more information visit https://www.dashkitspecialties.com/

No comments:
Post a Comment